Wednesday 13 April 2016

Catalogues Revisited

I don't hang out here much these days as I write most of my news on my Chez Grey website www.workshopontheweb.com/chezgrey.

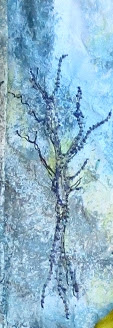
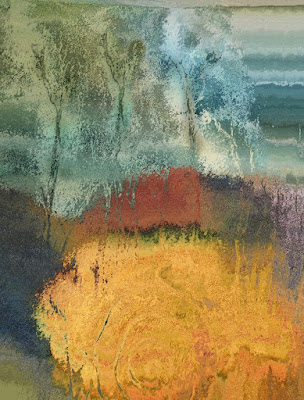
There's has been some reminiscencelately about the catalogue project that some of us undertook a few years ago. Here's my pic below and you can find out more about it by clicking on the labels (see right) marked catalogue.

It is a long process as the catalogue has to be left out in the weather for a winter. We did have fun, though.

Friday 15 January 2016

A Little Bit of Displacement


This is a bit of a tutorial on Displacement Maps - and yes, we've been here before. The reason I'm revisiting the subject is because I have just posted the first of the free workshops (the ones that go with my new Long Diaries book) on www.d4daisy.com. 

I've used this feature of Image software in the lesson and wanted to explain it further. Hopefully you will find this useful even if you don't have the book. 

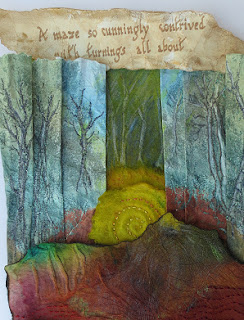
The lesson is based on a new piece of work in my myths and magic series and it was part of an experiment in perspective.

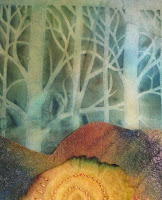
A detail of the piece is shown on the right and the trees are a printout of a computer design effect called a Displacement Maps.  I've shown the technique in Paint Shop Pro and Photoshop Elements.

Paint Shop Pro

Open the image you wish to displace. Mine is a photo of a piece of silk, stencilled using the pressure stencil technique. This is  where you paint fabric with wet paints - silk paints or Adirondacks or similar. The fabric needs to be saturated. Then you just place a mylar (or similar plastic) stencil on top and leave it to dry. All kinds of interesting things happen.

Over the top of this fabric I have laid a piece of kozo paper, which represents a maze and will eventually form the lower half of my new piece. Then I took a photograph and saved it in PSP. Let's call it Photo1. See right.


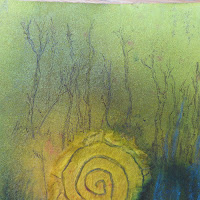
I am going to displace this image with another pressure stencil - one that turned out rather pale so I highlighted the trees with a pen. This was also photographed and saved in PSP. Photo 2. See right.


With  photo 1 and photo 2 open in the program (on the desktop) make sure you click on photo 1 as the active image.


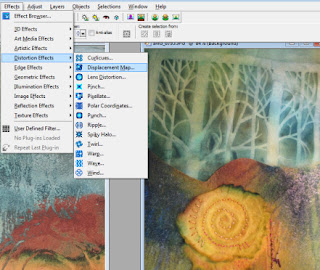
Then go to the Effects menu, slide down to Distortion Effects and click on Displacement Map.


On the sub menu that appears, you will see a little box with a pic in it. The words above read Displacement Map and you will see a little arrow next to it. Click on it and select Photo2 as the map - see right.

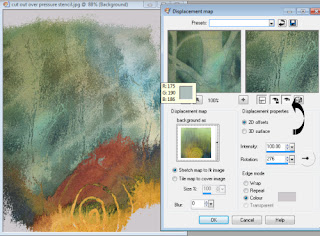
Make sure that the Intensity is set to 100 and that 'Stretch Map to Fit Image' is selected. You can play with all the other settings at a later date.

The two boxes highlighted by the arrow will show you the effect of the map in the box on the right and also in your image.

When you click OK, the map will take effect and your image will look something like the one below left.  I printed it and placed my paper on Stitch and Tear before machine embroidering the trees (see below right).


Photoshop Elements

It's a little different with Elements as you have to save Photo 2 as a .PSD file. This is the native Elements file format. Make sure you know where it is saved.

Go to the filters menu (on the top bar) and select Distort and then Displace.


You will be asked to choose a file as a displacement map. Open Photo 2.


You'll then see another box - like the one below. Try these settings which should produce a very similar effect to the PSP one. You can't check the image before applying the filter in Elements.


Do hope you've enjoyed this. If you'd like to buy the book and gain access to the free classes go to www.d4daisy.com.